In the last post, I left out two concepts in the interest of not putting you to sleep with nerdy bullshit. However, after thinking it over, re-reading the post and getting feedback from some of you fine folk, I think we need to tackle these concepts to better understand push processing and pull processing film; dynamic range and how film works.
How Film Works - The Super Simple Explanation
At its most basic, a piece of film has 3 components; a clear plastic base, some kind of gelatin and bits of light-sensitive silver halide suspended in the gelatin. When a photo is taken, light hits the film and causes a chemical reaction in the silver halide. In this chemical reaction, the silver halide turns into just plain silver. The areas that are hit with a lot light, have a stronger reaction and get converted into more silver and form the bright, highlight ares of the final image. The areas that are hit with very little light do not react as strongly and remain mostly silver halide and will eventually form the dark, shadow areas of the final image.
When the film is developed, wizardry happens, the silver halide that wasn’t hit with light is washed away while the silver halide that was hit with light and is now converted into silver remains on the film to form the image. Really what you end up with is the opposite of the image, bright areas on the film are black, dark areas are clear. Hence why it’s called a “negative”.
When the film is sitting in the bath of developer, the developing chemical reacts more quickly with the parts of the film that have more silver, and it reacts slowly with the areas that have less silver. So this just means that the bright, highlight areas develop at a faster rate than the shadow areas. Thus the development process ultimately controls the highlights; leave the film in the developer bath for a longer period of time, you get brighter highlights and vice versa. It will affect the shadows to some extent but, if no light hit a certain part of the film then no silver halide was converted into silver, the silver halide will get washed away and you’ll be left with nothing but pure black in the area of the film in the final image. So you can’t take a photo of a pitch black room, develop the film for a really long time and hope to have some kind of image formed.
Dynamic Range
The concept of dynamic range is going to tie into why one my choose to pull-process their film later on. Film (and also digital sensors) has a limited range of exposure values/brightness levels in which it is capable of recording detail, and this range is measured in stops. To illustrate what I mean, let’s imagine that Film Brand A has a dynamic range of 10 stops, Film Brand A can only accommodate a difference of 10 stops between the darkest area of detail and the brightest area of detail, anything that falls outside of that range gets recorded as pure black or pure white. The 10 stop range of Film Brand A can be shifted around creatively; choosing to expose the film mostly for the shadow areas and blowing out the brighter areas to pure white, or exposing the film mostly for the brighter areas and losing the details in the shadow areas to pure black. As a photographer, that’s just another creative decision that has to be made depending on what part of the scene the photographer has decided is most important.
In the very well illustrated diagram below, we see a scene that has more dynamic range than the film is able to handle. The numbers are just a visual aid, they don’t actually mean or measure anything. So in the diagram we see that Film Brand A with its 10-stop dynamic range goes from -5 to +5. However the scene we want to photograph has a 14-stop range with -7 at the darkest shadows and +7 at the brightest highlights. If we decide that the darker areas of the scene are the most important, we can use Film Brand A’s range to capture from -7 to +3, everything brighter than +3 gets blown out to pure white with no details or texture.
Or vice versa, if we decide that bright areas of the scene are are the most important, we can use Film Brand A’s range to capture from -3 to +7, everything darker than -3 gets lost to pure black with no details or texture. Hopefully that all makes sense. Like I said, the numbers are just visual aids, different types and brands of film are going to have varying dynamic ranges. Digital cameras operate more-or-less the same way with different camera sensors have different dynamic ranges.
What Is Pull-Processing?
Did you guess that it’s the exact opposite of push-processing? Well, this isn’t a game show; there are no prizes. You’ll remember from my post on push-processing that there is a manufacturer recommended development time for a “normally” developed image. You may also remember that in push-processing, the film is left in the developer for a longer period of time than what’s recommended. In pull-processing, the film film is left in the developer for a shorter period of time than what’s recommended. Pull-processing is often combined with over-exposing the film in-camera when the images are being taken, but this doesn’t have to be the case. Like push-processing, pull-processing strictly refers to how the film is developed.
What Are the Effects of Pull-Processing?
Unsurprisingly, pull-processing has the opposite effect of push-processing. While push processing results in more contrast and more visible grain, pull-processing results in less contrast and less visible grain. As stated above, the developing process mainly effects how the highlights turn out. Therefore, when we pull-process and cut the development time short, we get less developed, not as bright highlights, as we would with normal development. So since the shadows remain fairly the same, and the highlight brightness is reduced, we end up with less contrast in the final image. As opposed to push-processing, where we extend the development time, get brighter highlights and thus more contrast.
Why Pull-Process?
First and foremost, it can be used as a creative tool when going for a less-contrasty, less-grainy look. But what it is really well suited for is for shooting in high-contrast situations in which the dynamic range of the scene is greater than that of the film. I told you dynamic range was going to show up again. Picture shooting at high-noon on a cloudless, summer day. You’re going to have really dark shadows in some areas, and aggressively bright highlights in others. Like I said before, if shooting and developing the film normally, the photographer has to decide whether he wants to capture the details of the dark areas or the bright areas of the scene. But with pull-processing, he can have his cake and eat it too. In a high-contrast situation like I just described, we expose the film for the shadow areas which will, of course, blow out the highlights. In development via pull-processing, we can “rescue” the highlight areas and bring some detail back because we don’t let the highlights develop as long as they would during normal development.
Another instance in which pull-processing can be helpful is, let’s say you grabbed the wrong box of film and you’re out shooting on a nice, sunny day, and you’re stuck with a high-ISO film in a situation where you’d much prefer to have a lower-ISO film. You can rate your high-ISO film at a lower ISO and then pull the film during development to balance out the overexposure. Check this post here if that doesn’t quite make sense and all will be revealed.


My Thoughts and Experience
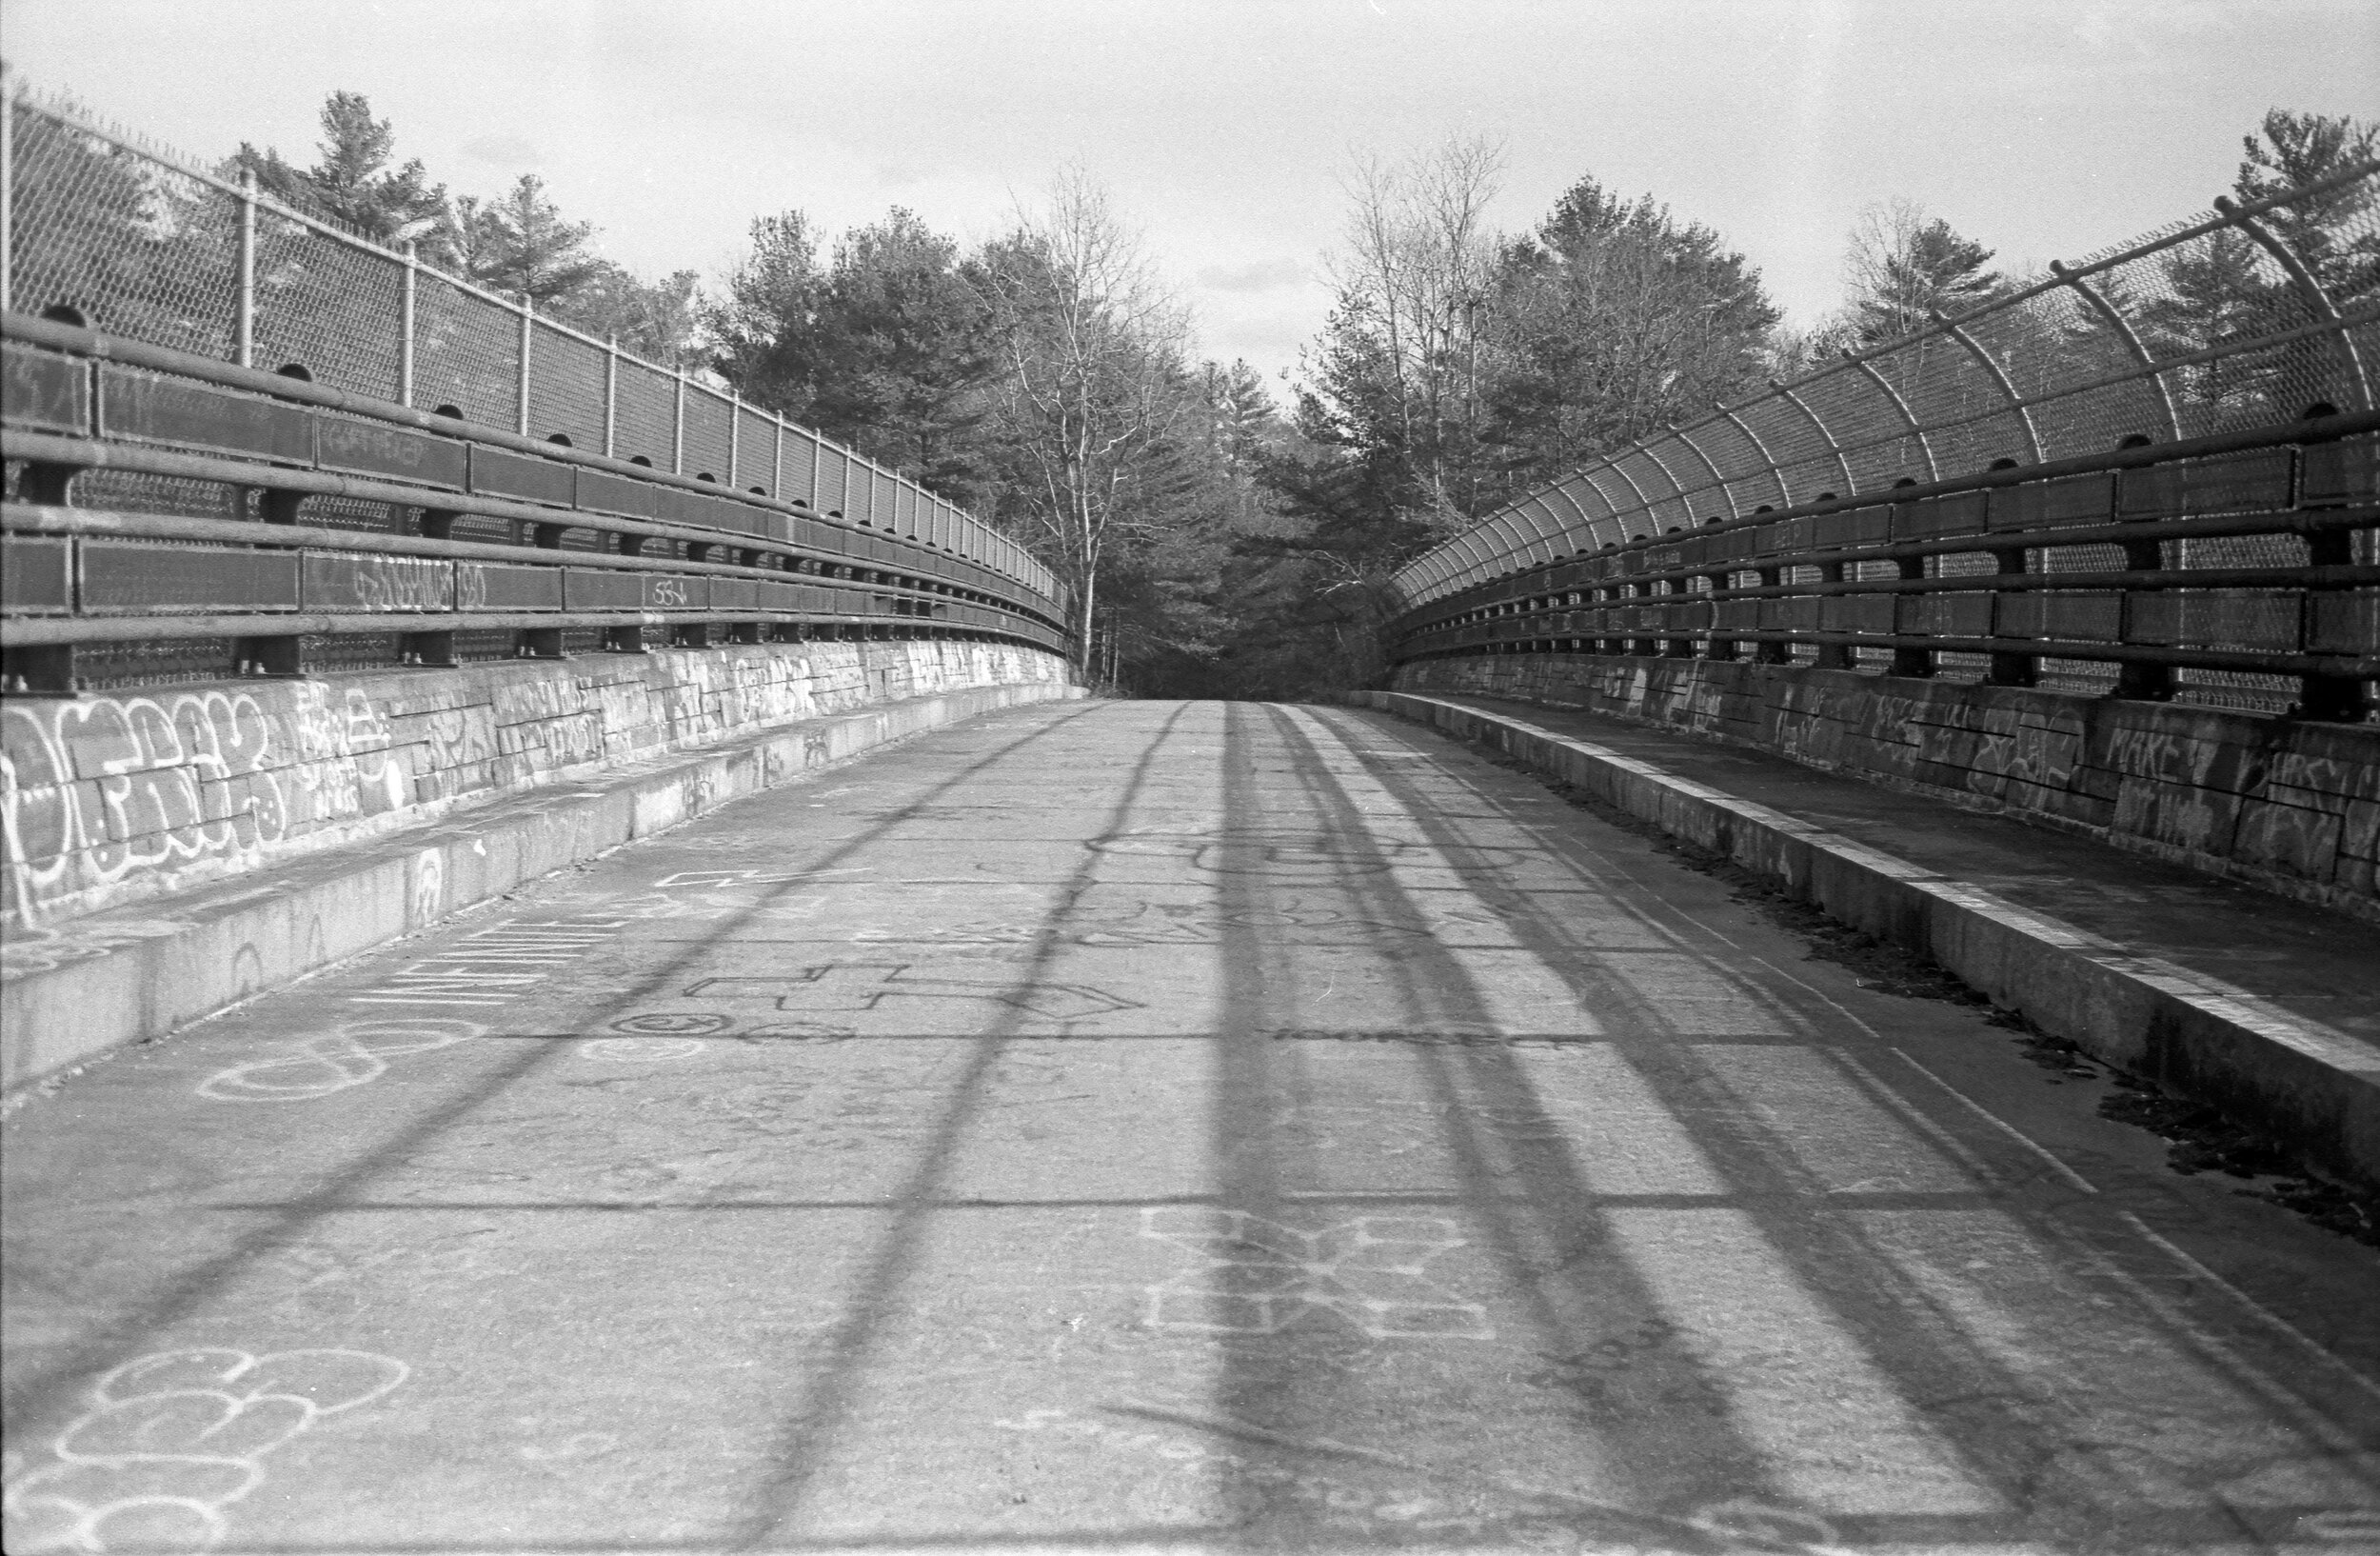
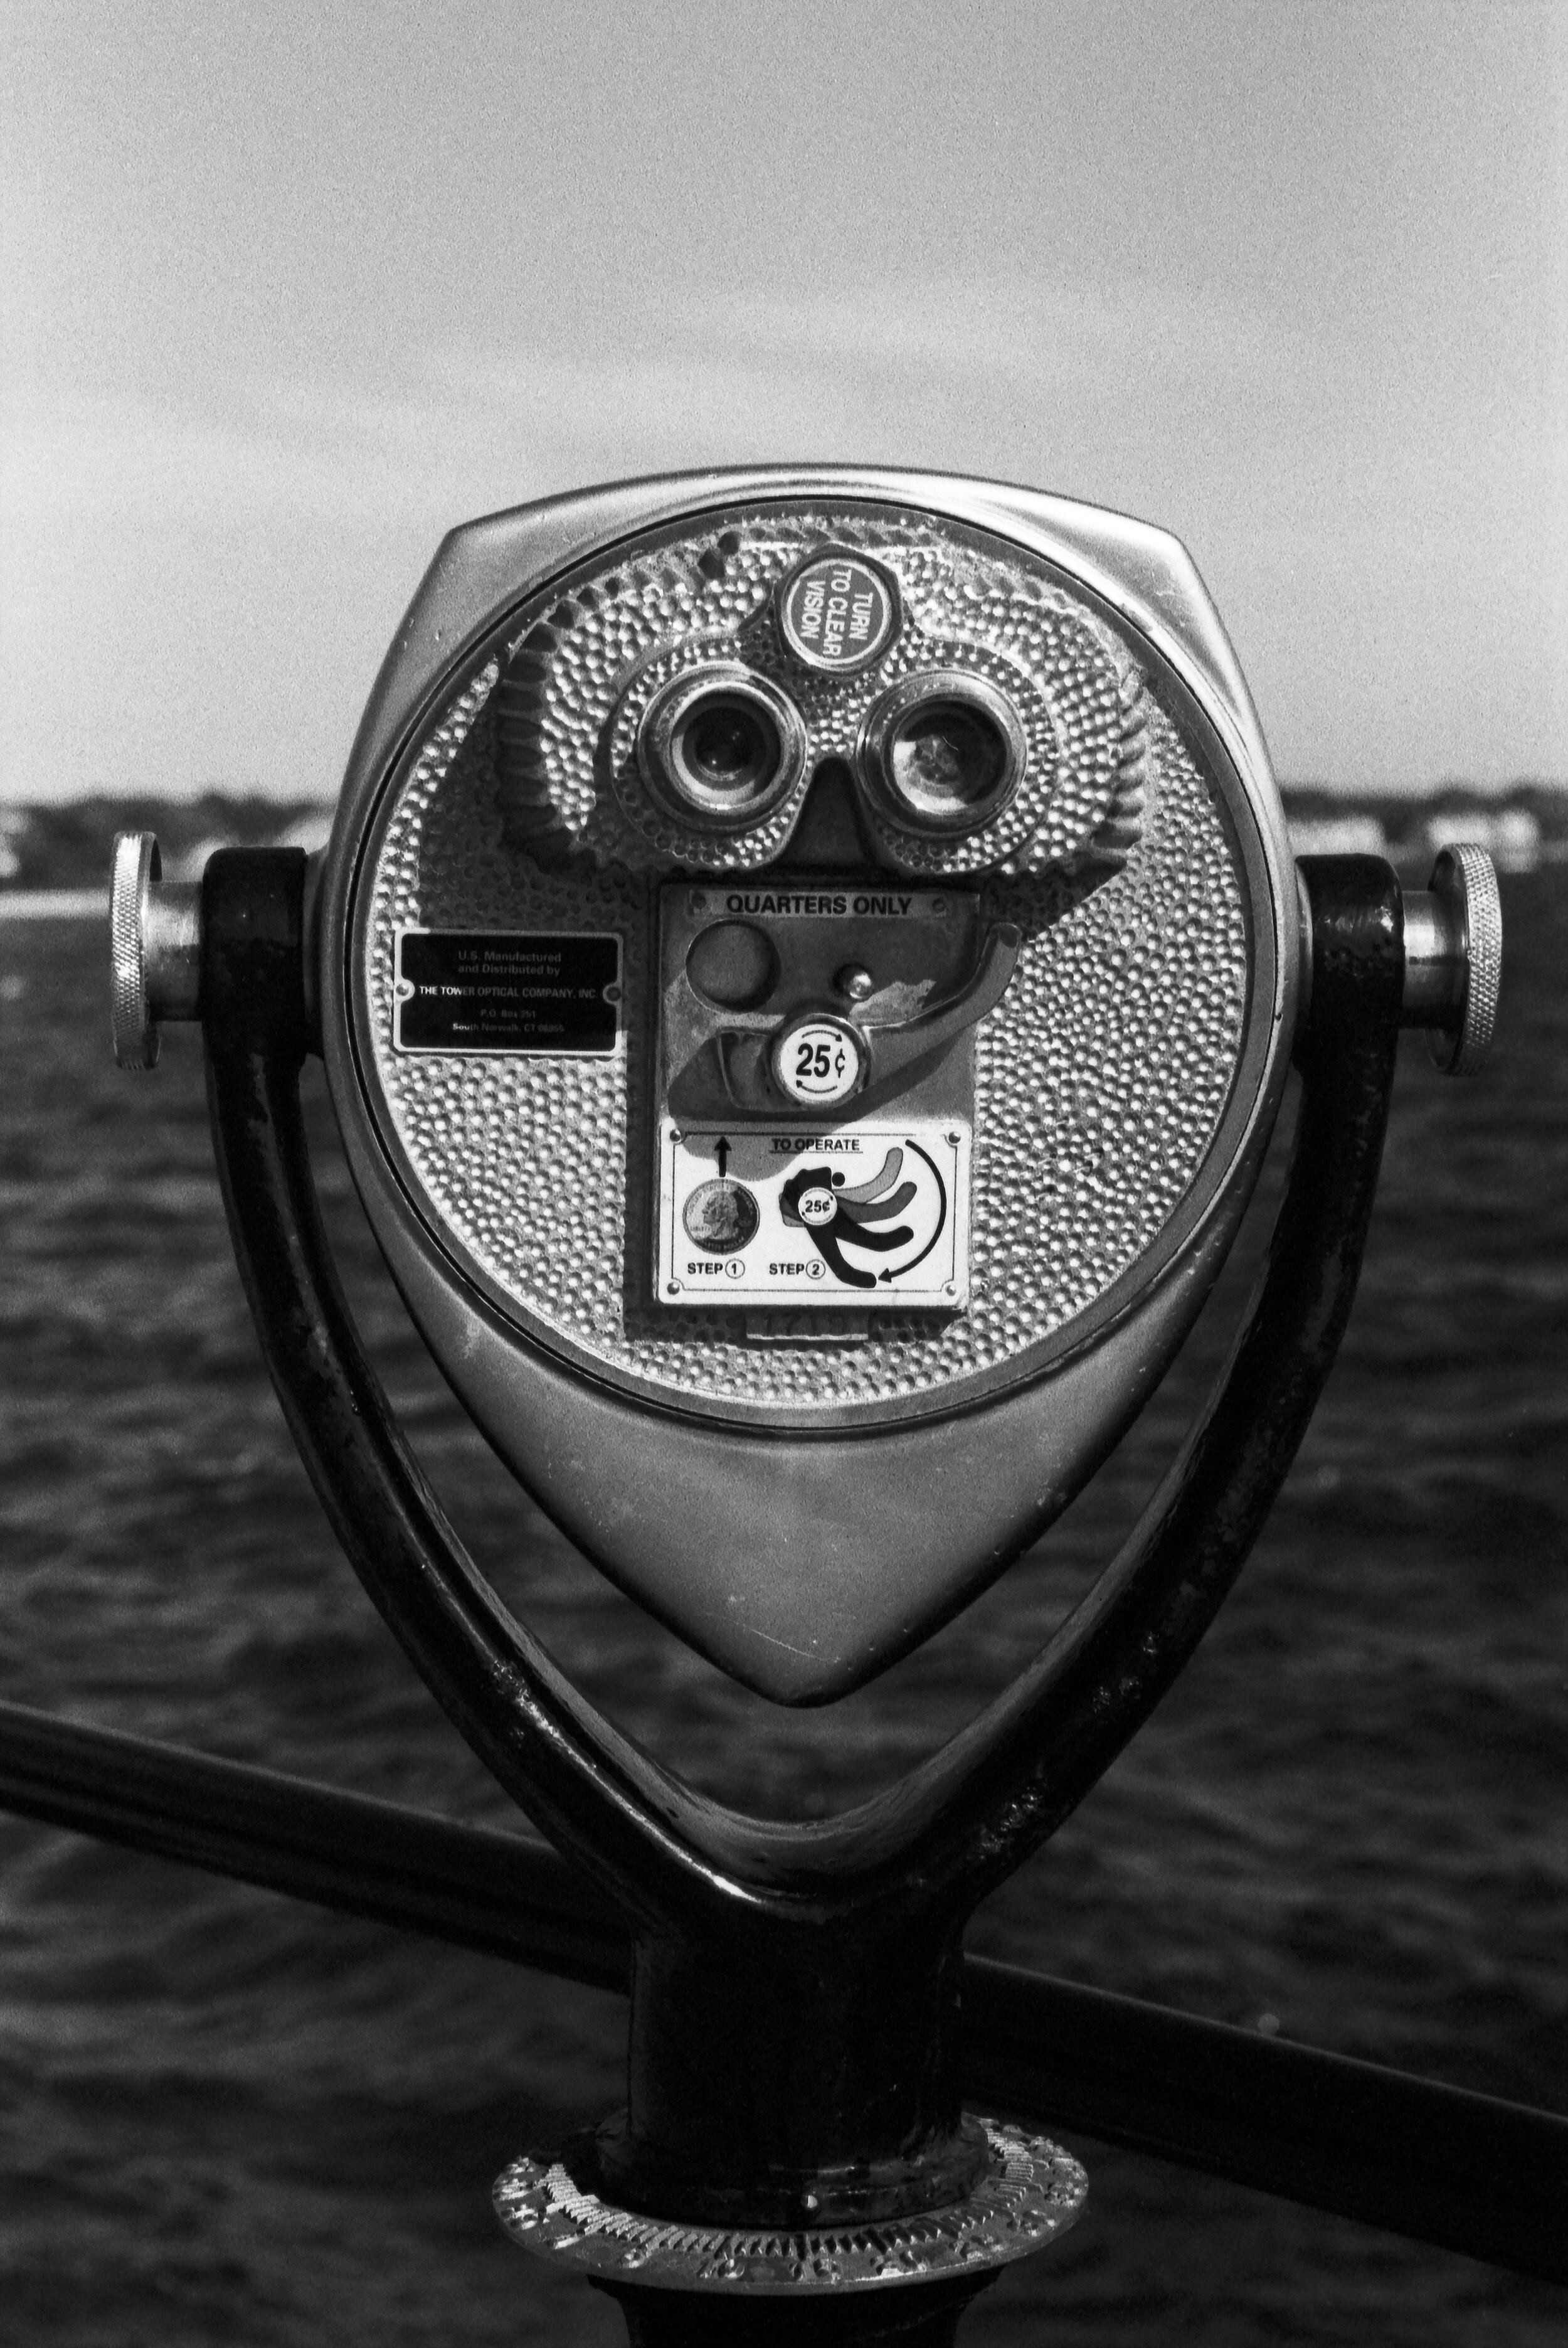
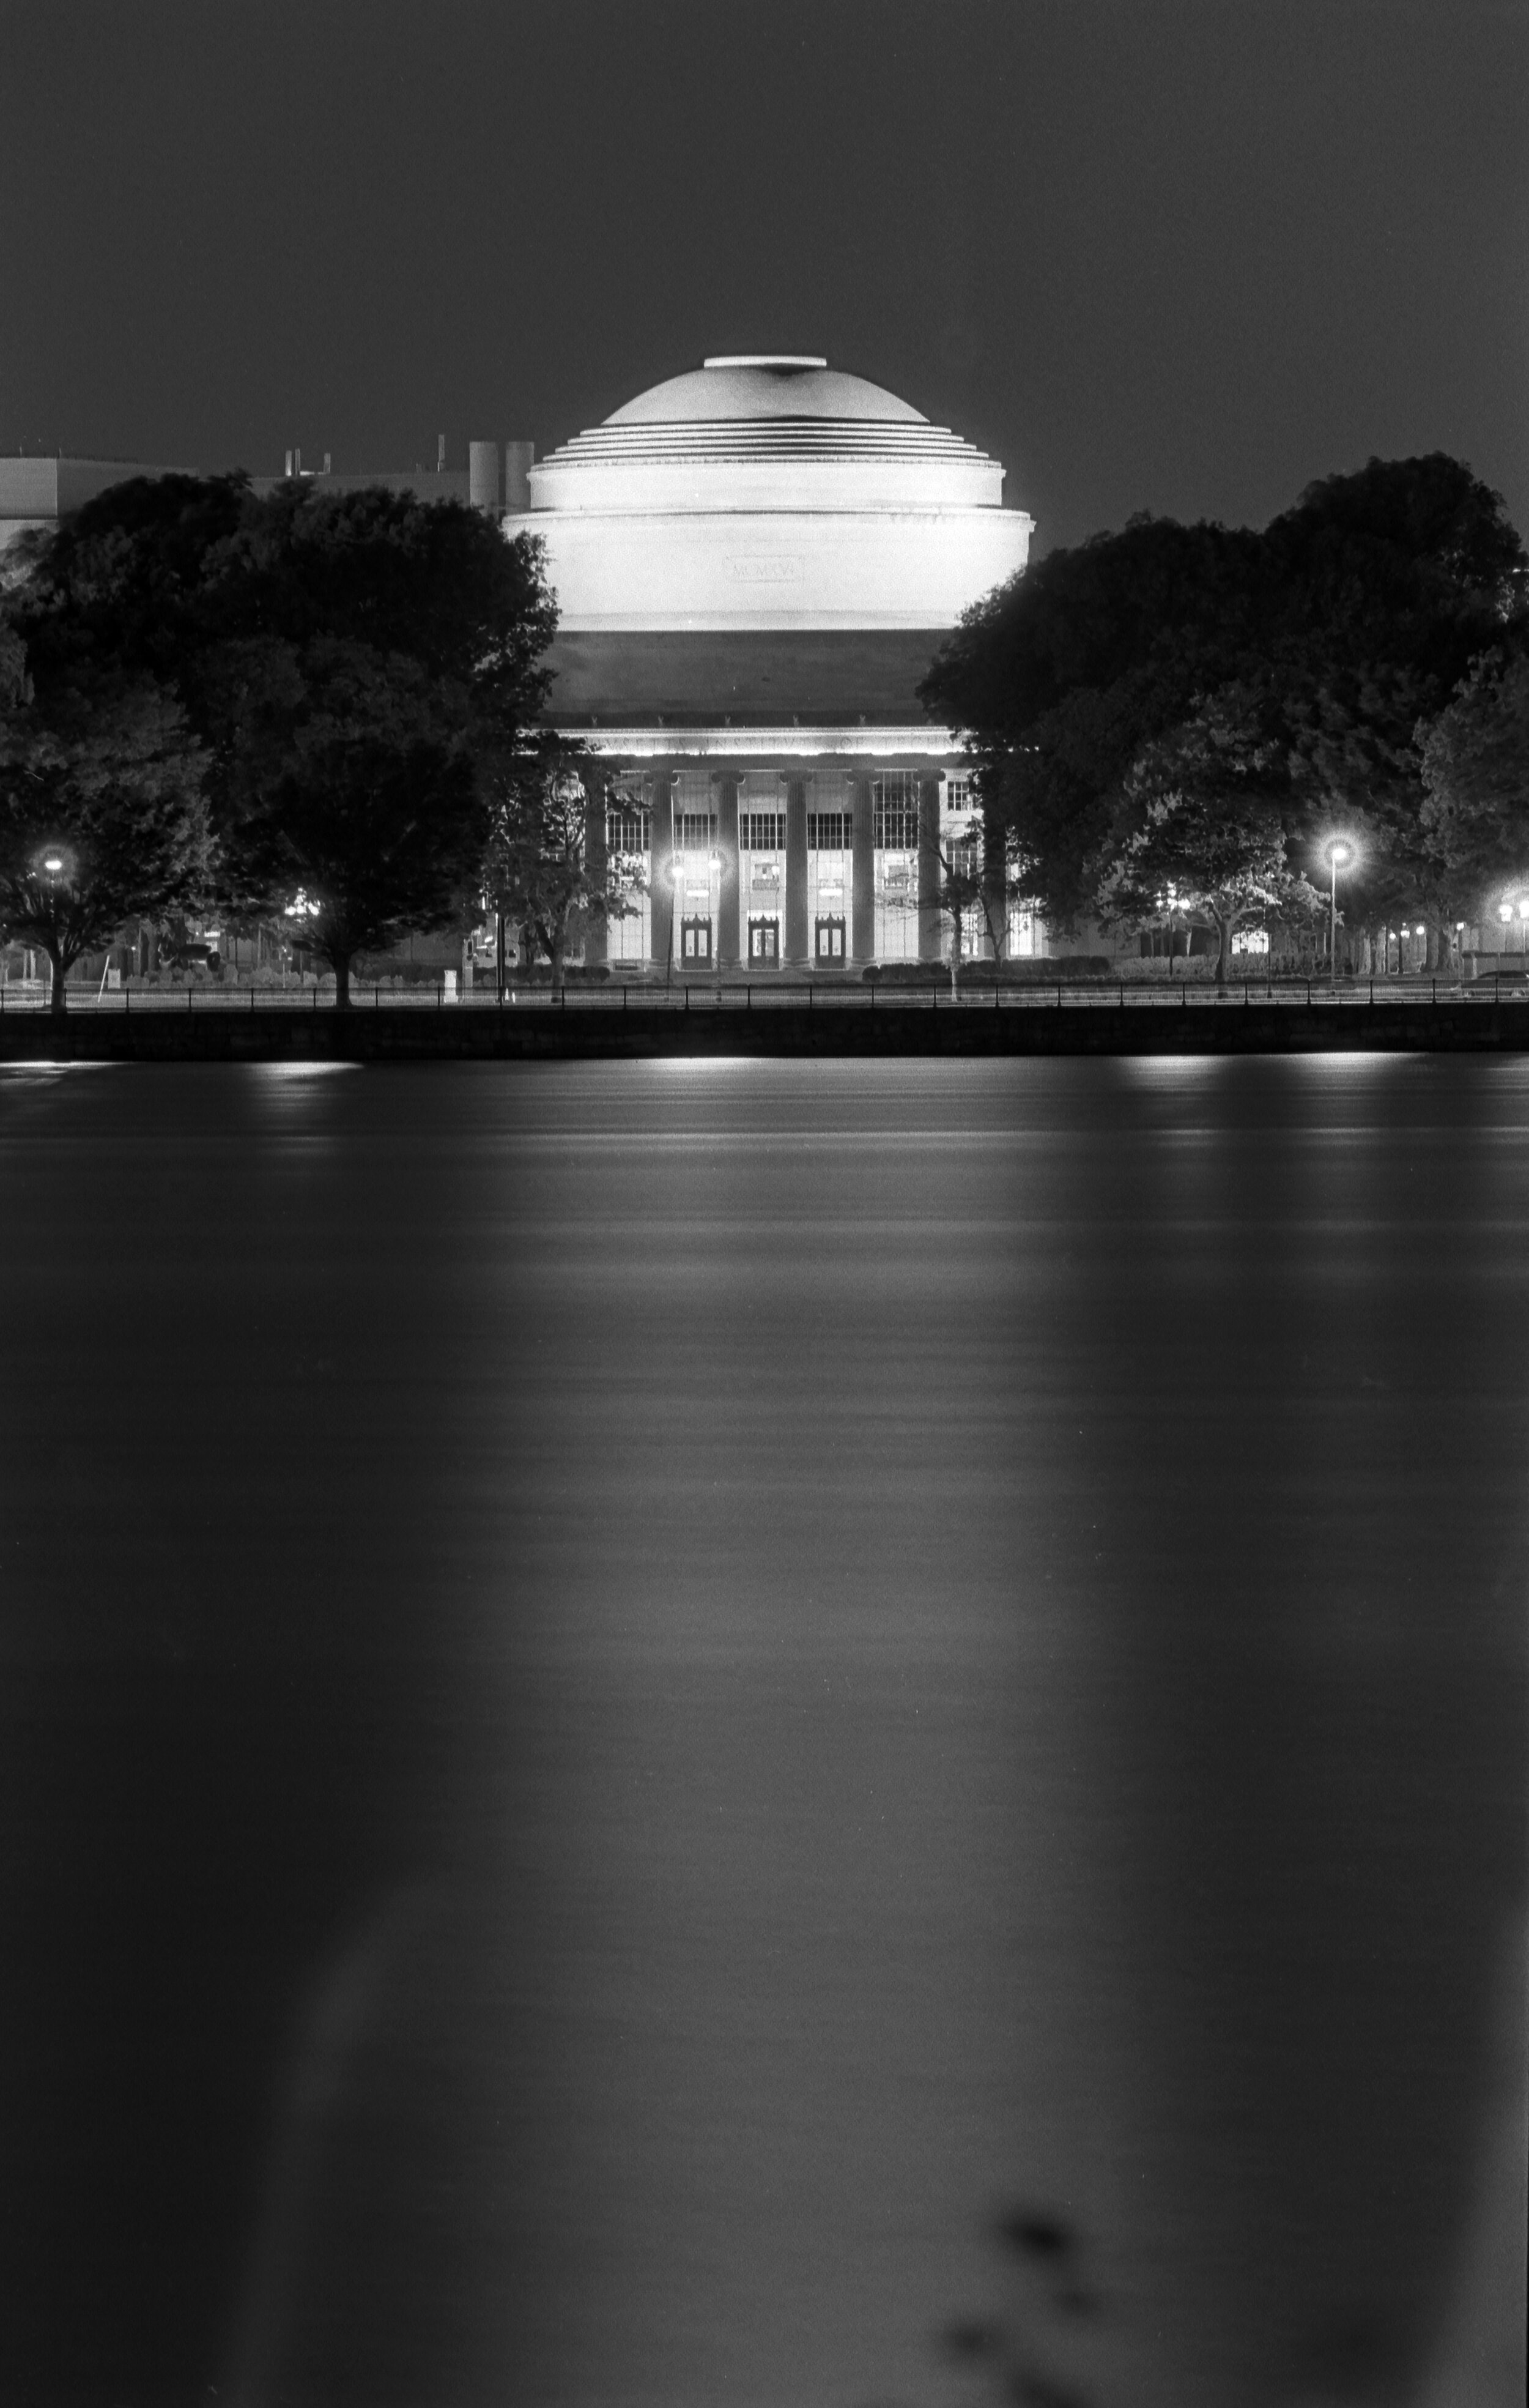
I took a roll of trusty Kodak Tri-X 400, rated it 2 stop less at ISO 100 and then pulled it 2 stops in development to compensate. I went out to find the highest contrast scenes I could think of so naturally I found myself driving around Boston at 3 in the morning, and I finished off the roll by walking around Beverly during the late afternoon.
As expected, the daytime shots are pretty flat, no real areas of pure black or pure white. The night shots have more detail in the shadow areas and the highlights are relatively subdued. In both the day and night images, the grain is much less noticeable, particularly in the negative spaces like the sky and deep shadow areas.


Rating the film at a lower ISO let me use a much longer shutter speed than if I had rated it at its native 400. The longer shutter speed enabled me to get some particularly interesting light trails from the cars driving through the scenes at night.
Pull-processing probably isn’t something I’m going to be doing a whole lot of. The daytime shots are too flat for my taste, I definitely like my images to have more contrast. “But you can just add the contrast back during post-production”, I can hear you exclaiming already. That’s true, I could do that, but it’s more work, and I prefer to spend my time out making photos rather than sitting in front of the computer editing them. I do really like, however, how the night scenes came out. If I’m going out to shoot black and white film at night, I will definitely be overexposing and pull-processing again. I’ll have to try shooting color film at night and pulling it in development to see if that suits my taste as well. I’d also like to rate a 400 ISO film at 100 and pulling it 2 stops and compare that to the look that a native, 100 ISO film would give.


Let me know which look you like best in the comments below. If you thought this post was interesting, share it with your friends, the more engagement these posts get the more of them I’m able to do.
