As I said in my “Ultimate SRT 101” post, I will mindlessly browse Craigslist and Facebook Marketplace like normal people browse Instagram. Last week, I came across yet another SRT 101 for sale but this time it was the black, “professional”, version. While at the time, all SRT 101’s were slated as professional cameras, the black versions were marketed as being even more pro. Evidently, at the time, professional photographers would only shoot with black cameras. The black version seems to be more desirable to collectors and is becoming increasingly rare and expensive. The seller’s asking price was already ridiculously low and I was able to talk them down even more; they were cleaning out their parents’ basement and they just wanted the camera gone. I didn’t follow my own advice on how to inspect and buy a film camera and this post is a result of that. While it looked mostly OK at first glance, it had some issues. Below is how I got this classic camera back into working order.
Disclaimer: The adapter that was used to attach my 70’s era macro lens to my modern Sony for the close-up shots ended up getting stuck on the Sony. After a lot of sweating and swearing, I was able to get it off. However, I’m not stupid enough to put it back, so the detail shots in this post are going to be more limited than you or I would like. Also, this is not meant to be a full-on tutorial; that would be torture for me to try to write and for you to try to read. Maybe someday if I start doing videos I can get deeper into the nitty-gritty but today is not that day.
Quick Tips
Start with a clean, clear workspace.
Keep your work on some kind of tray with sides. This will keep small parts contained from rolling off your work surface and disappearing forever. I used a tacky breakfast-in-bed type tray that I picked up at the dollar store.
Use magnetic screwdrivers or have some kind of magnet handy. This makes removing and reinserting the tiny screws much easier.
When in doubt, take photos of every step you take so you can see exactly how things go back together.
These old cameras are mechanical devices. Like any mechanical device, working on them is as simple as putting things back on the same way they came off.
Materials Used:
Isopropyl Alcohol, 91%
Apple Cider Vinegar
Hoppe’s Gun Cleaning Patches
Cotton Swabs
Toothpicks
Rocket Blower
Scissors
Tweezers
Phillips head Screwdriver
I could tell this camera was not stored properly. The shutter speed dial decorator plate and the film rewind knob decorator plate had some nasty green rust on them. The ring that couples a lens’s aperture ring to the camera’s metering system was corroded and seized together so bad that I couldn’t even mount a lens to it. The mirror had some stuff growing on it and the focusing screen was filthy. Where the top plate of the camera body main portion where the leather wrapping begins appeared to be either rust bubbles or some other kind of nastiness. Then of course was the usual dust and mustiness that these old cameras come with. Luckily, I have a broken SRT 101 hiding in my closet that I keep around to use for parts. Let the tedious disassembly begin.


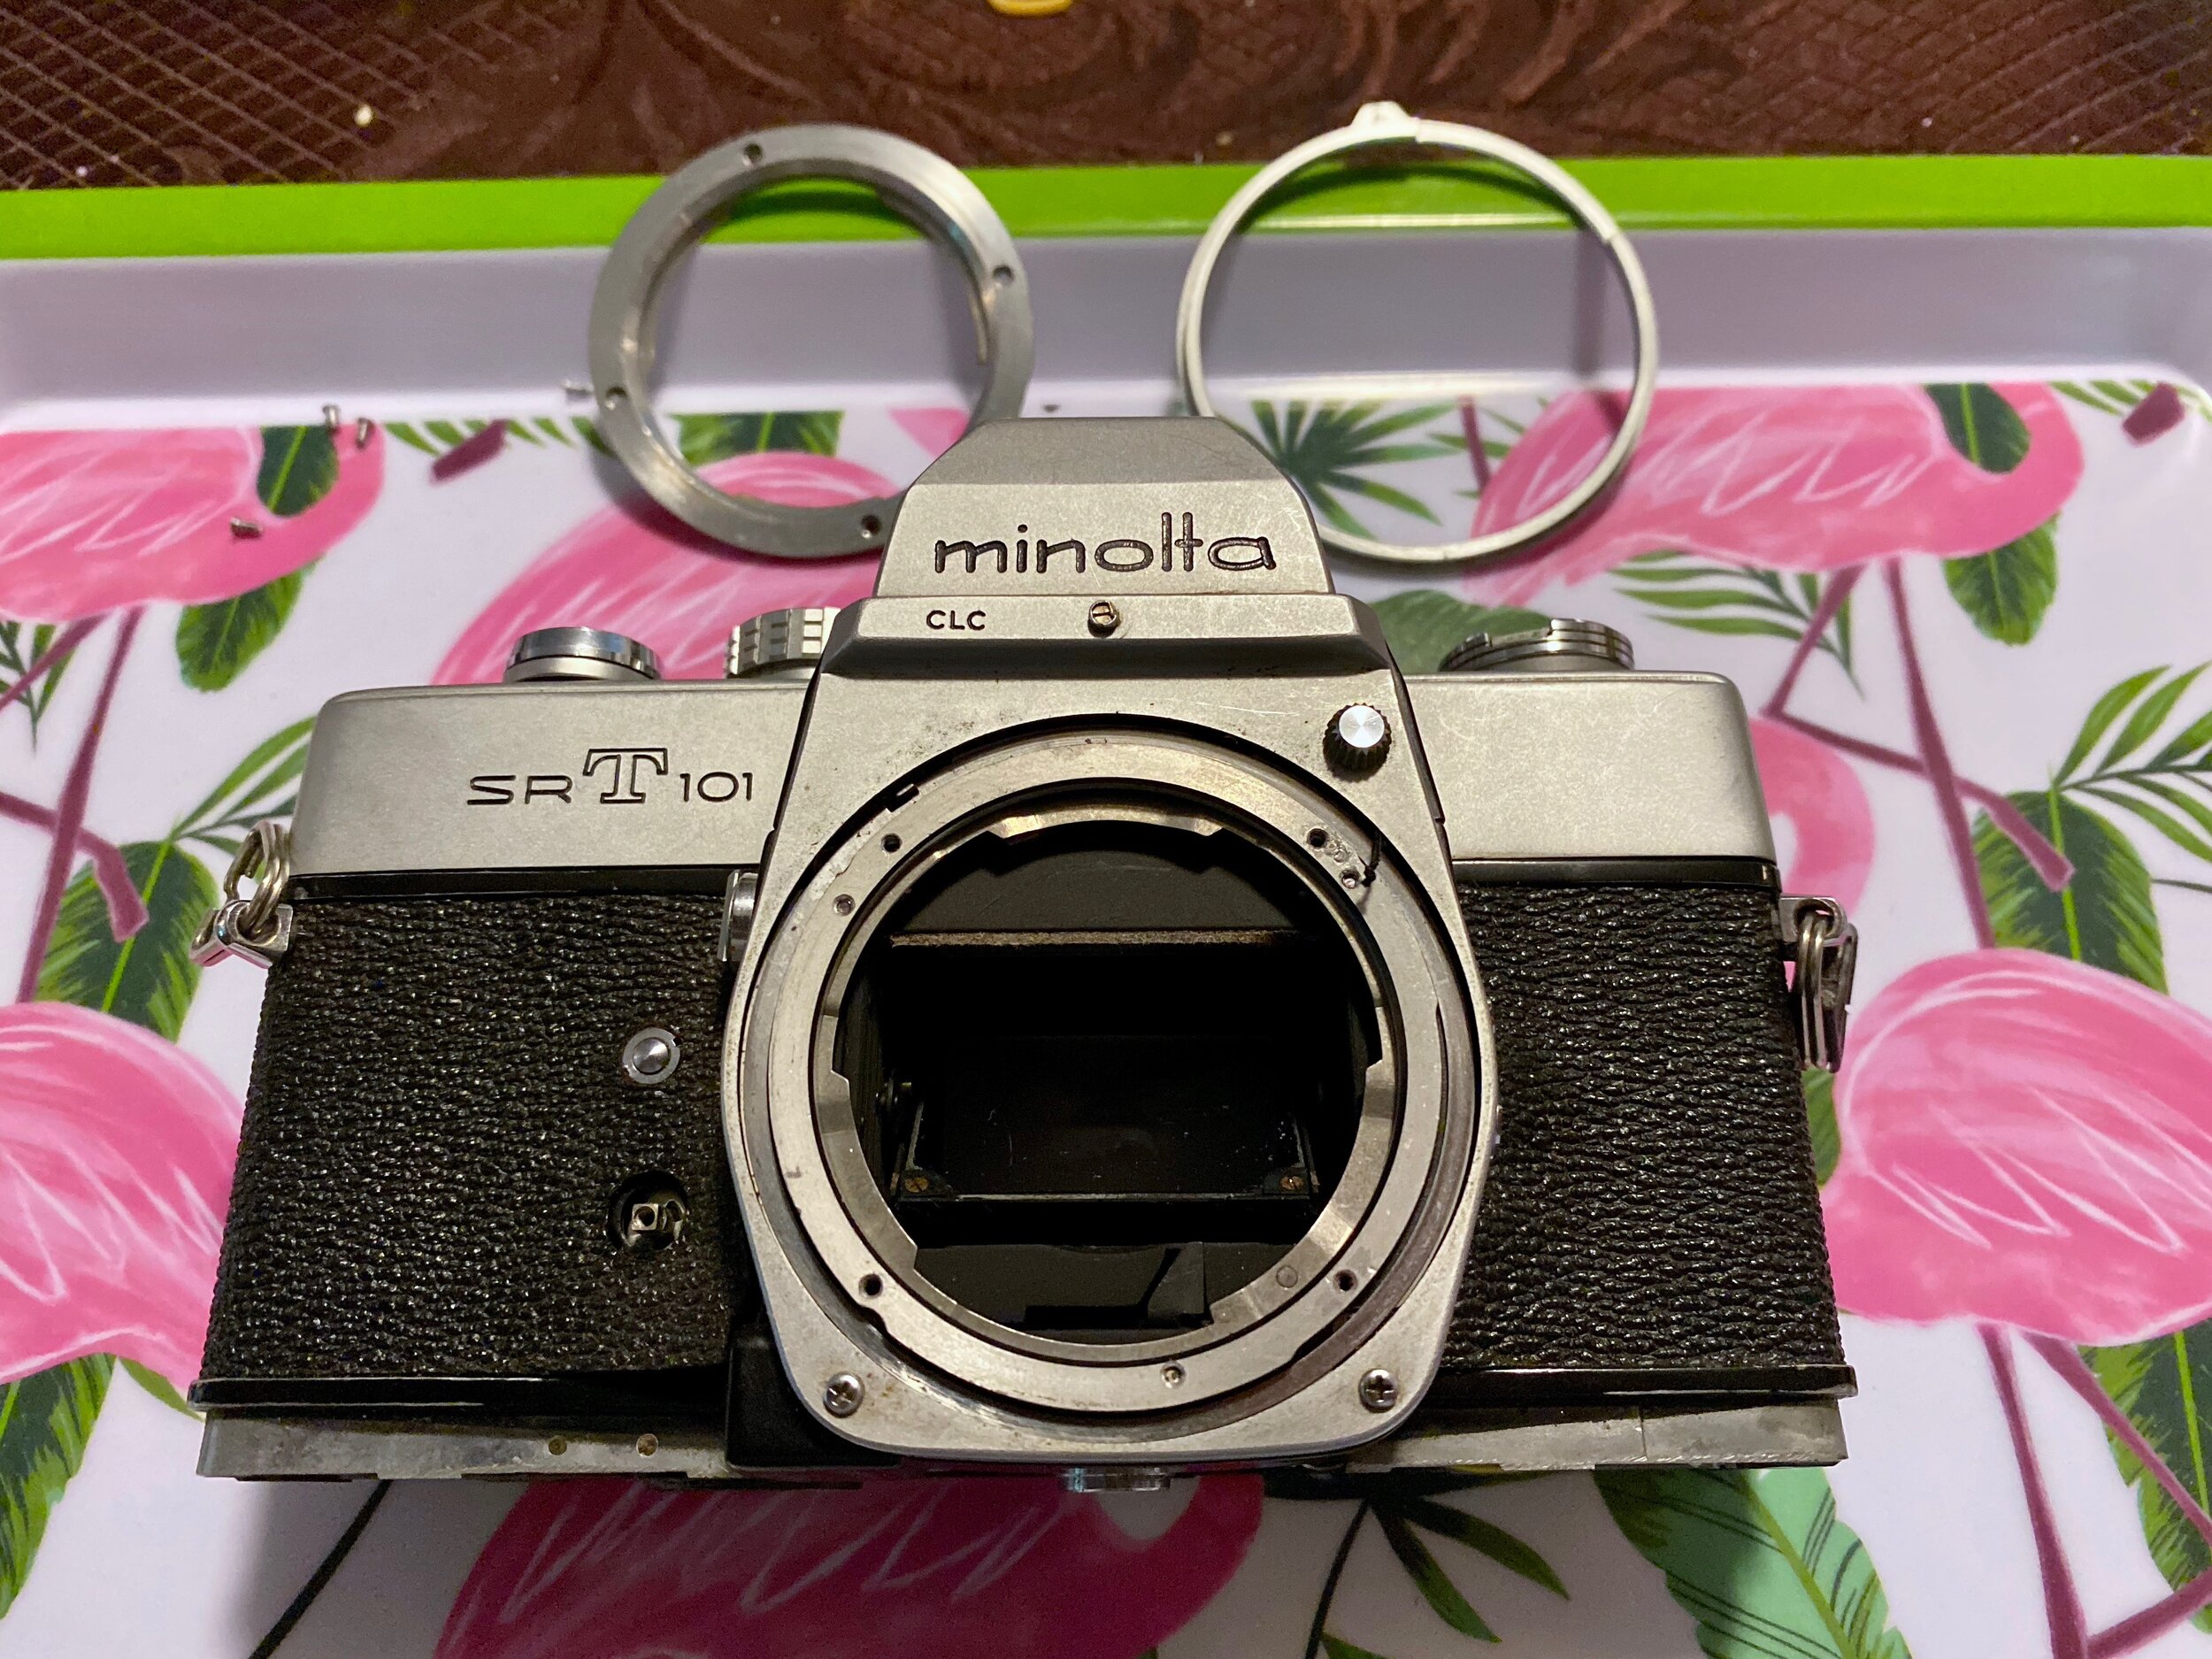
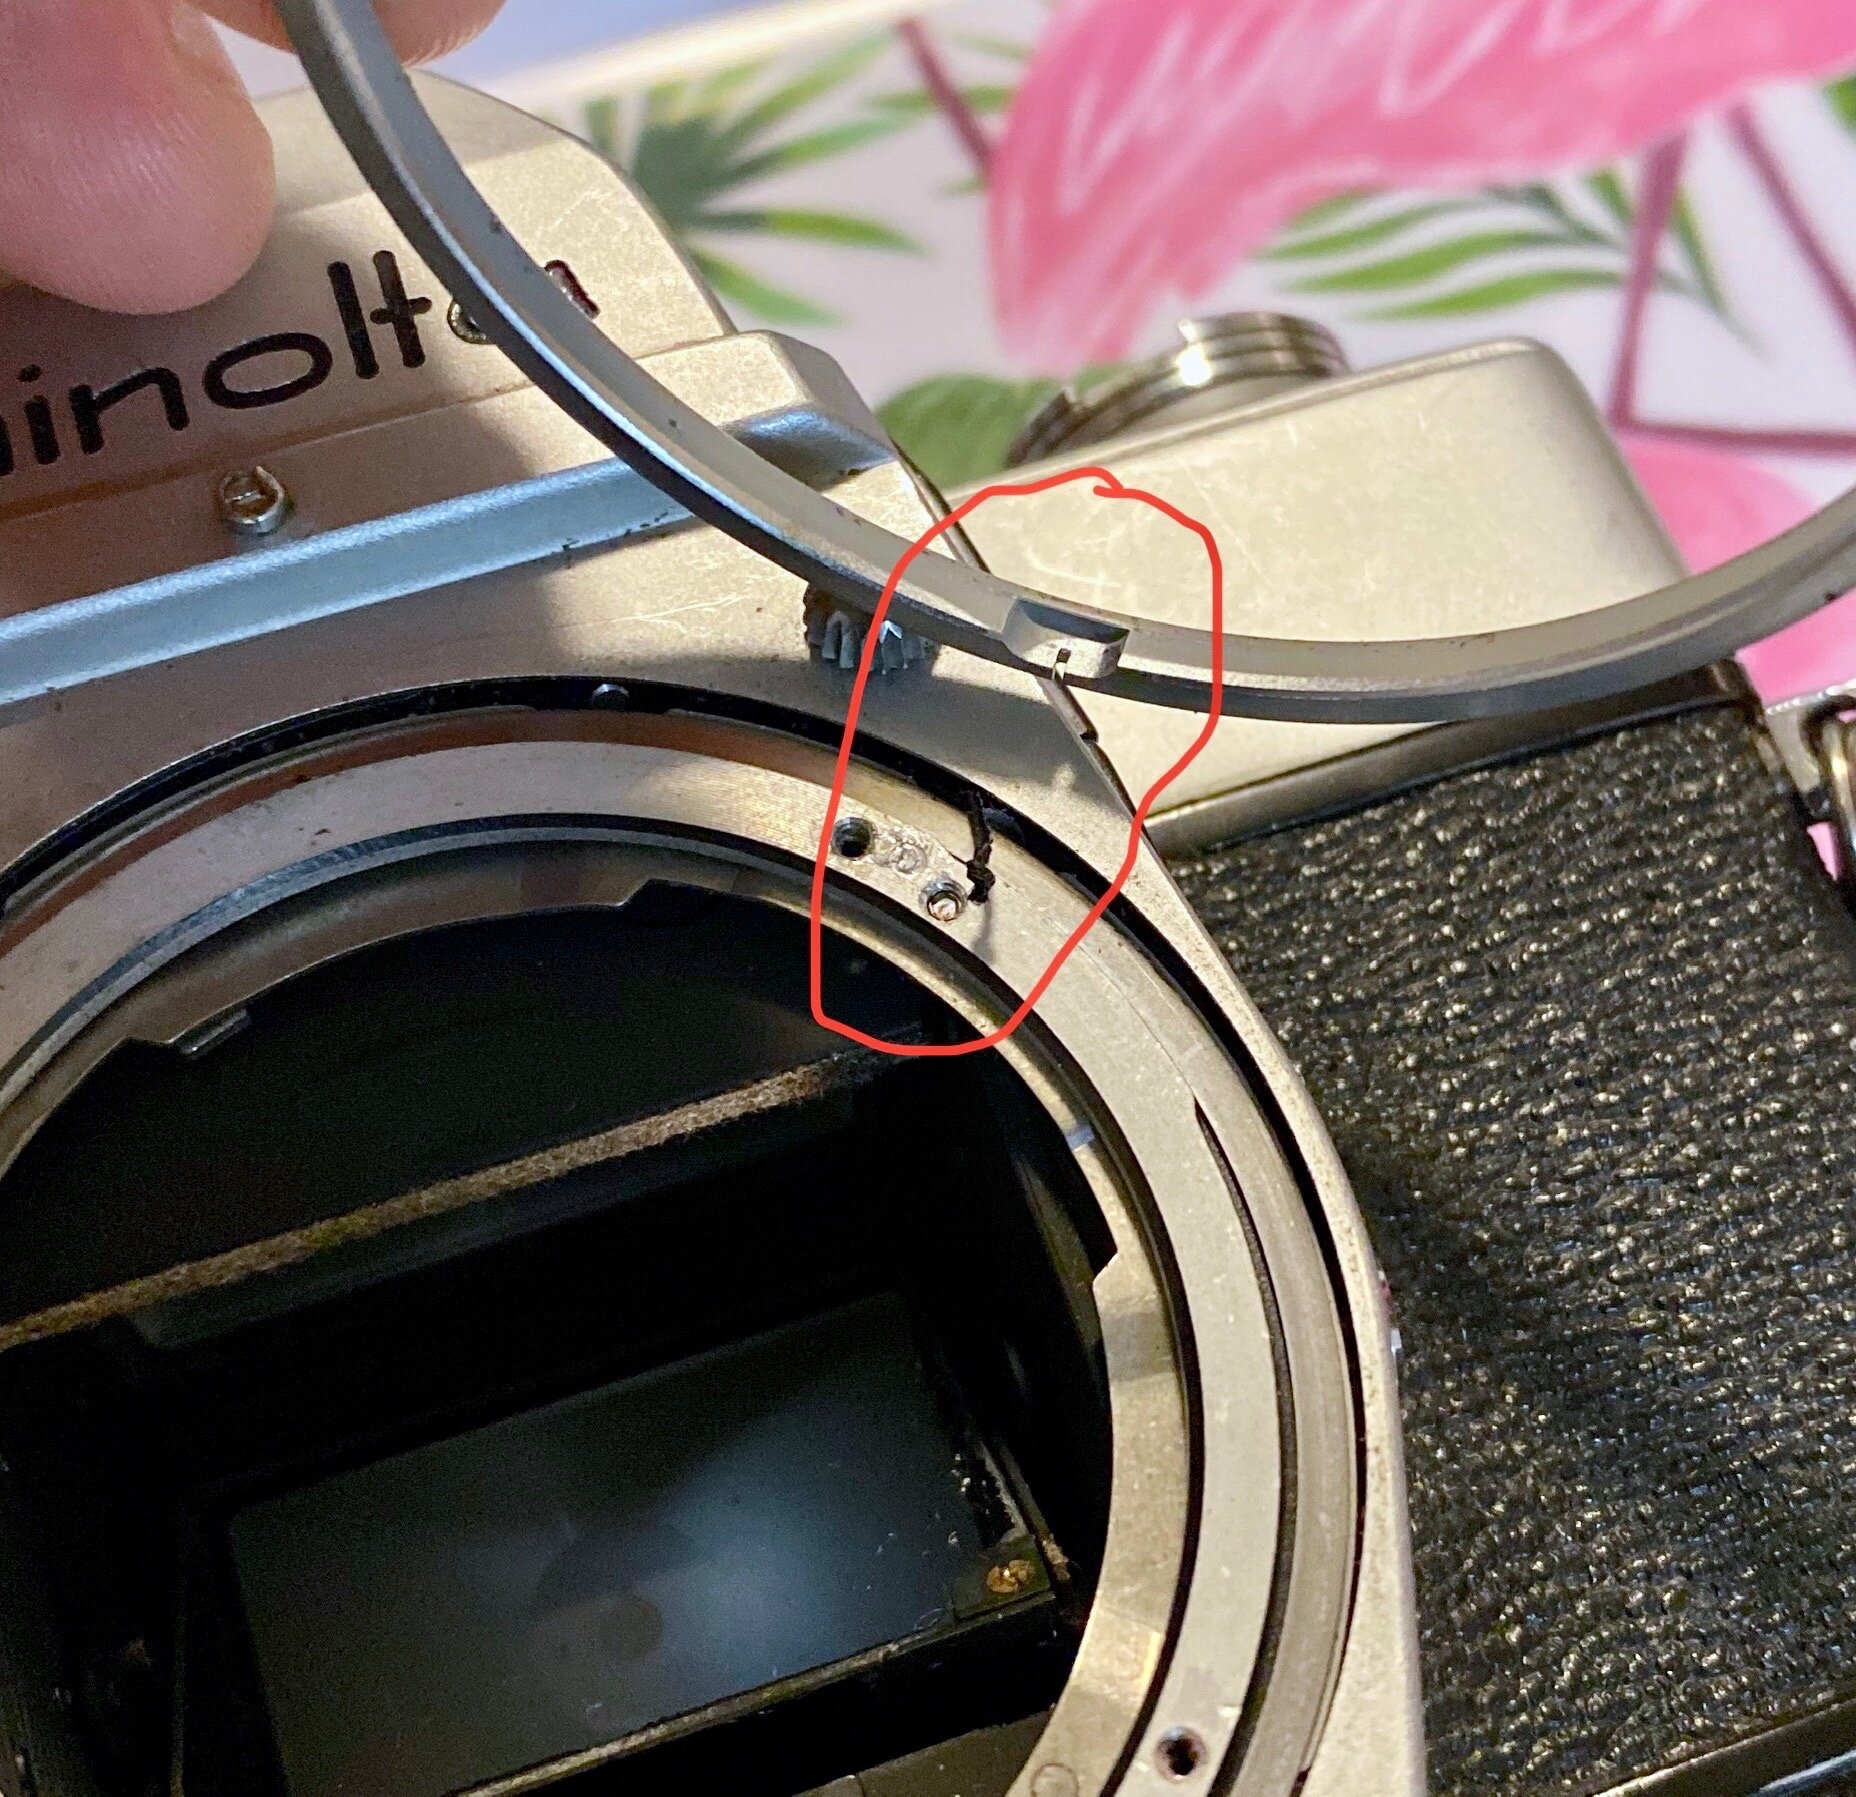
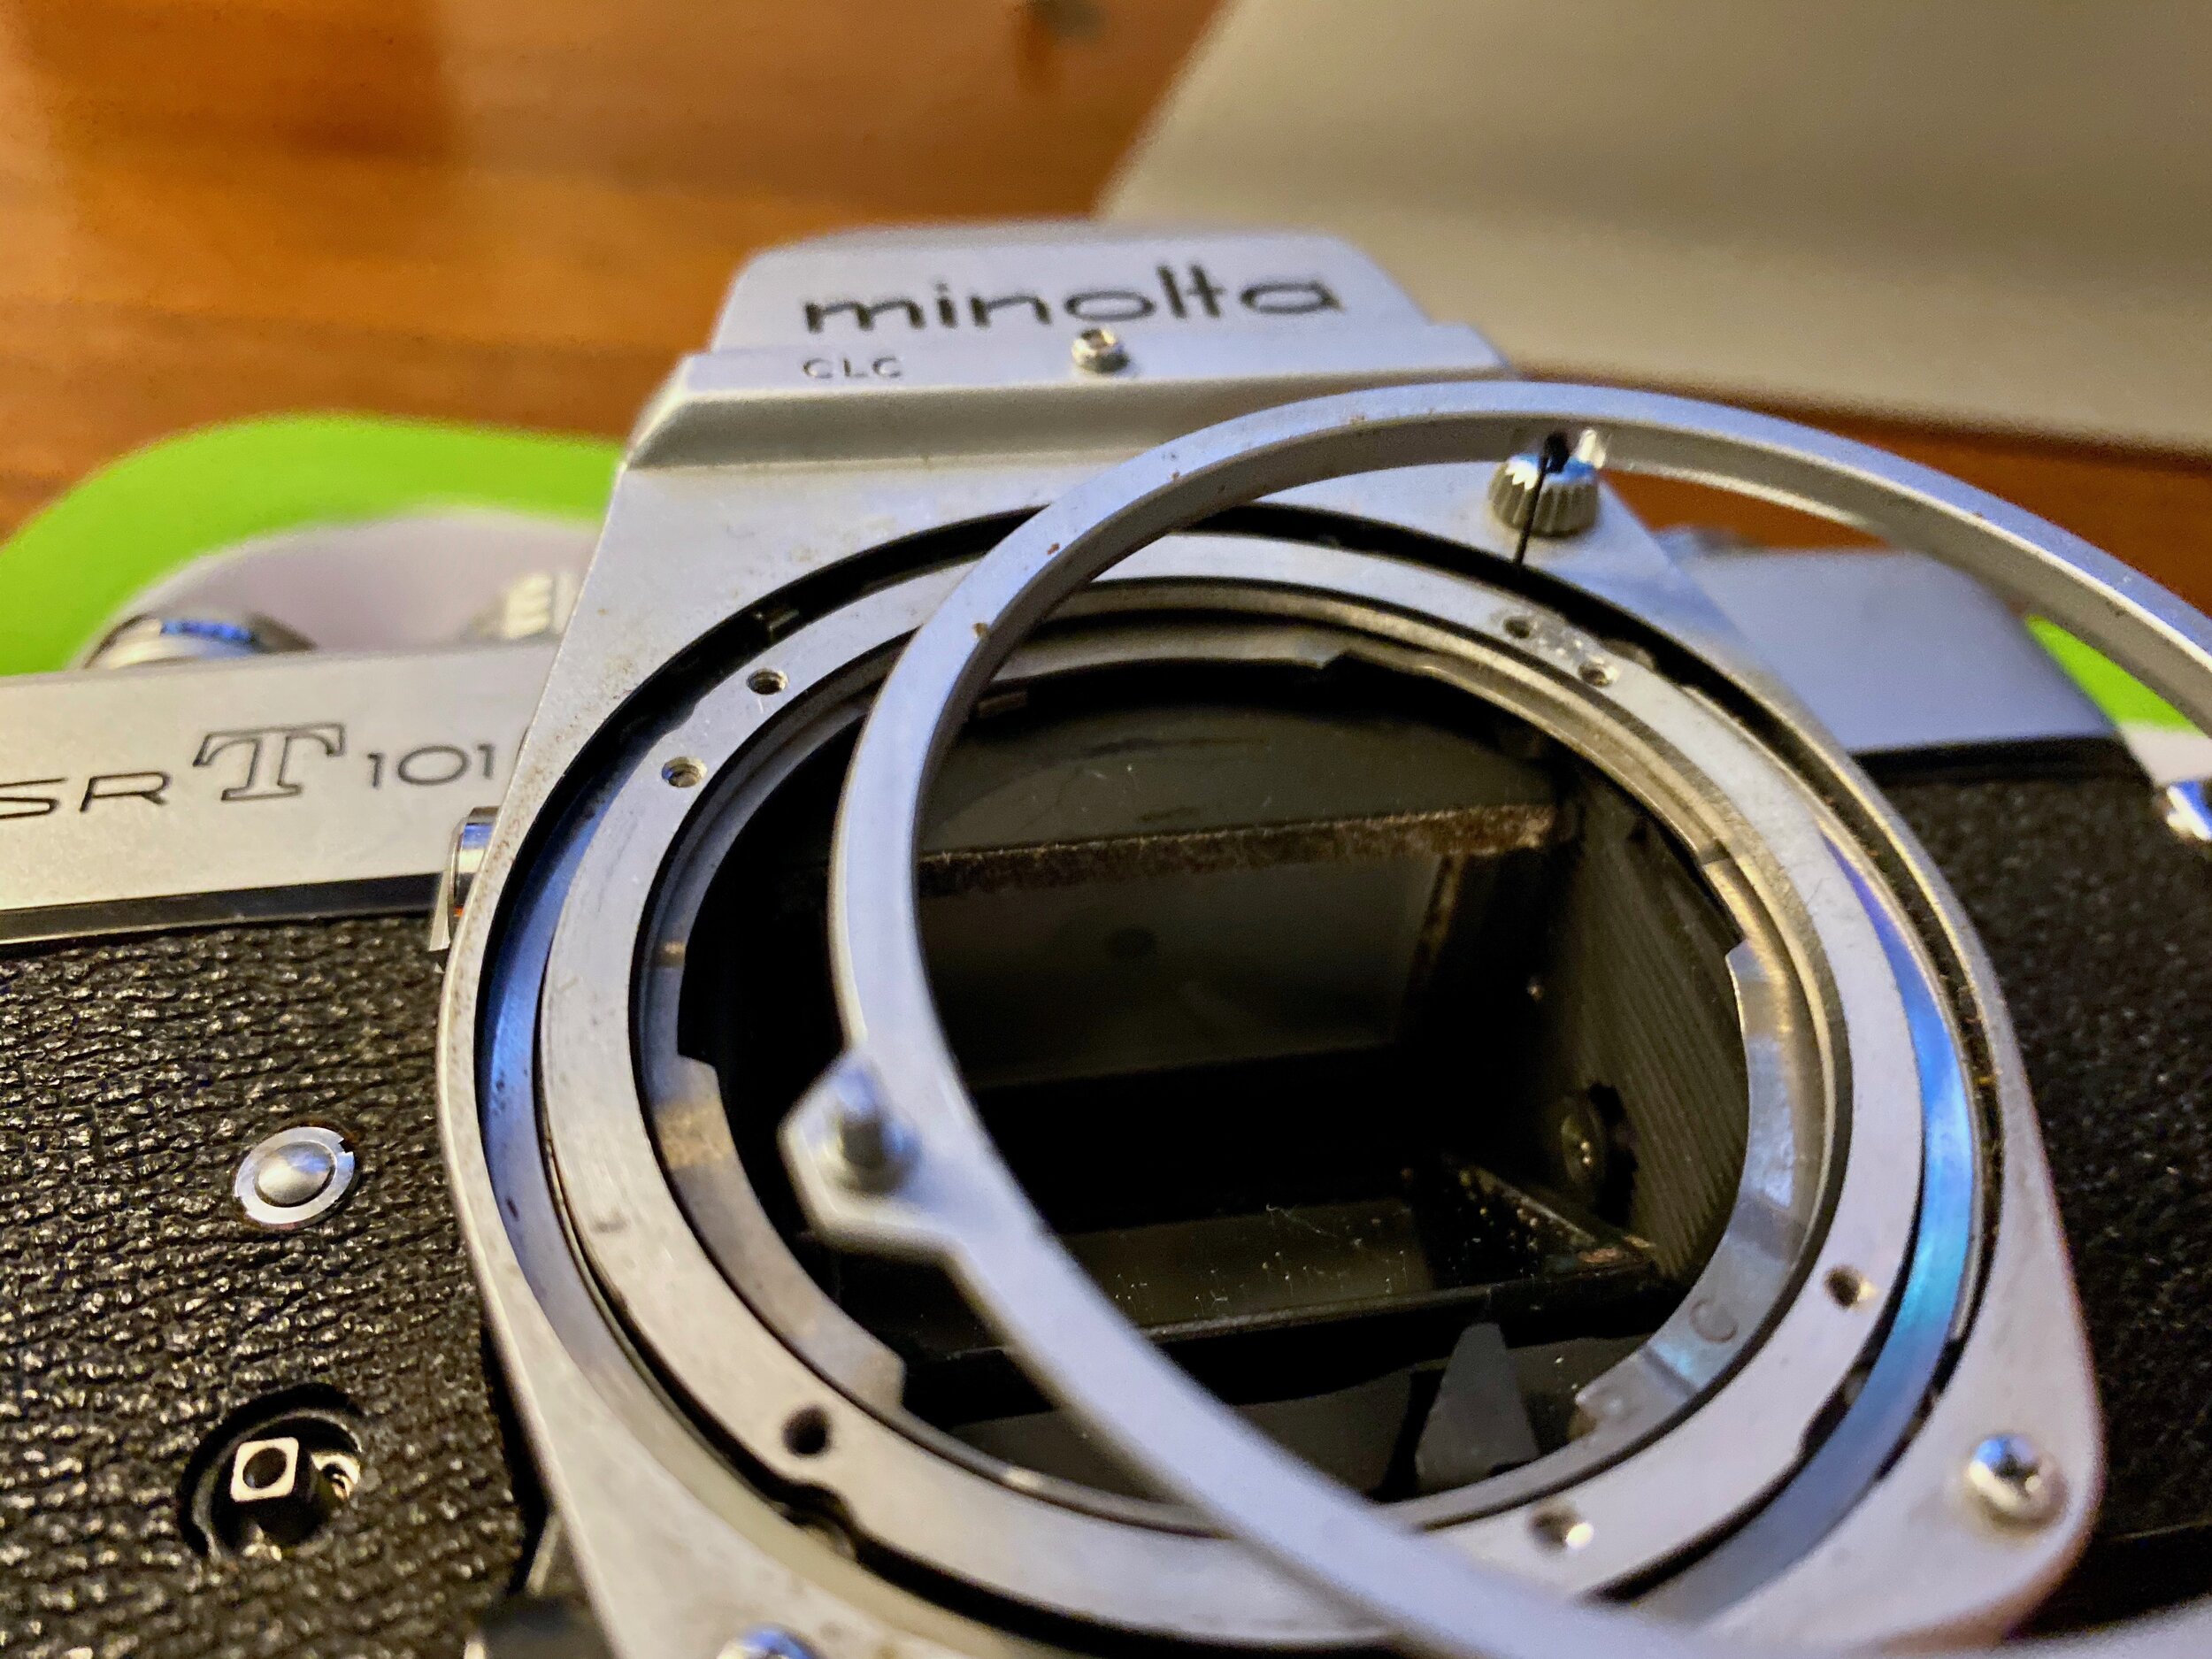
The first order of business was replacing the seized-up aperture coupling ring because if I couldn’t get that part working, then there was no point working on the rest. I placed the cameras on my flamingo tray to keep any small parts from rolling of my desk and disappearing forever. I removed the four screws that hold the lens bayonet mount and the aperture coupling ring to the body and set them aside. I separated the bayonet mount from the coupling ring and boy, were they in rough shape. The aperture coupling ring is connected to the camera’s meter by a tiny silk thread which I used tweezers and great care when disconnecting. I removed the same parts from the donor camera, gave everything a quick scrub with Q-tips and gun cleaning patches soaked in rubbing alcohol, and followed the reverse process to install the parts on the new camera. Success! The new parts had the camera working like it was fresh out of the box.


I next removed the crusty, green film rewind knob decorator plate and replaced it with the same from the parts camera. I couldn’t remove the shutter speed dial decorator plate without removing the entire top cover and possibly messing up the alignment of the shutter speed dial’s internals. I was able to, however, use a Q-tip and apple cider vinegar to dissolve and scrape off the green rust. The vinegar acts as a very mild acid that will break down light rust and corrosion without doing any damage to whatever sensitive item you are working on. Pro tip; if you need to scrape something that has a delicate paint job, cut a Q-tip in half. The cut will result in a nice tapered end on the Q-tip’s shaft that’s just firm enough for scraping but not hard enough to damage any paint.
With everything reassembled, I began to tackle the rest of the issues. I used a rocket blower to clean and loose dirt off the mirror and the focusing screen. Most of it came off but some stubborn dirt remained. The next level of dirt removal force was canned air. I normally don’t use canned air to clean my cameras because it can force dirt deeper into places where I don’t want it to go. However, I will use it in cases of particularly stubborn dirt before I resort to manually removing the dirt. Touching the mirror is the last thing I want to do because any damage done to it can cause the mirror to de-silver, rendering the camera pretty much useless. The canned air didn’t work and I was forced to wipe down the mirror and focusing screen with a cleaning patch and rubbing alcohol. This cleaned most everything off but whatever was on the mirror had etched some light scratches into it that can still be seen when looking through the viewfinder. Nothing that will affect how the photos turn out, just a bit of annoyance when trying to frame up a shot. Maybe some other time when I’m feeling brave I’ll fully disassemble the camera and replace the mirror and focusing screen.
With the major issues addressed, now it was just a matter of giving the camera a quick clean. I wiped the entire body down with rubbing alcohol and used toothpicks to scrape any just out of the corners and hard-to-reach areas. Turns out the mystery substance on the top cover was rust bubbles under the paint. I’ll just have to live with those and hope they don’t progress any further; rust removal, sanding and painting are not my strong points.